

Spring is in the air and lots of us are feeling the urge to brighten up our homes, why not make some lovely spring bunting to brighten up a corner of your house! Here is our Needle & Thread free tutorial & pattern for making your own bunting. (Of course you can use this tutorial to make any type of bunting throughout the year, but we just love these pretty springtime Fabrics!). ** Link at the bottom of this post to a full pdf printable version with bunting template **
Materials
A sewing machine with thread
Your template triangle (included in the pdf instructions)
Bias binding 3 metres 2.5cm wide.
Scissors or rotary cutter, ruler and cutting mat
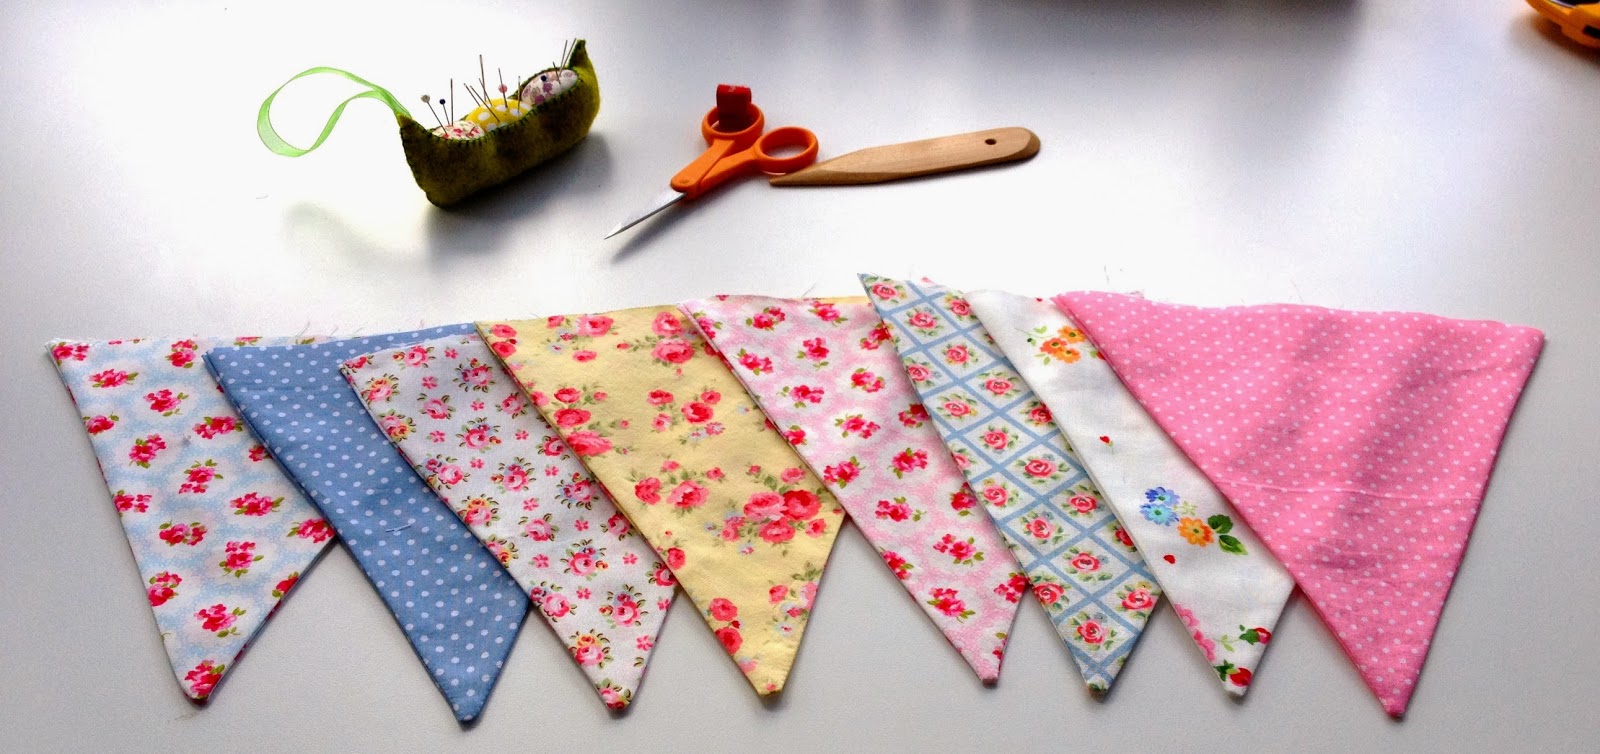
A selection of fabrics
A nice pot of tea & some treats at hand!
Instructions
1. Cut out your triangle template from the attached template for the flags of your bunting.
2. Pin your template to your fabric and cut two triangles for each flag. One for the back, (1 for the front. A 0.5 cm seam allowance is already included in the template). You can use scissors or a rotary cutter, ruler and mat.

3. Once all your flags are cut, with the right sides facing each other pin the two sides of the flag and in the next step you are going to sew from A to B to C using a straight stitch. You do not sew the top edge.

4. Secure your stitches with a couple of forward and backward stitches on your sewing machine at starting point A (or with the securing stitch on your sewing machines if it has that function).

When you get to point B, leave your needle down in the fabric, lift the presser foot and turn the fabric so that you can continue sewing towards point C. Put the presser foot down and continue sewing, this is called pivoting. At stopping point C secure your stitches again and cut threads. Complete for all flags.

5. Clip the corners of your flags so that when you turn the flags through the points aren’t bulky.

6. Turn your flag through so it is right side out, then use the blunt end of a pencil or paintbrush to poke the corner into a lovely point (be careful not to poke too hard and go through the stitching!) then press your flags.
7. Take your bias tape and measure 50cm from one end, your first flag will go here. TIP a tape measure stuck along the side of your work table means you will always have one to hand. Mark with a pin.

8. Fold over the cut edge of your bias tape to hide the raw edge for a neat finish, close both sides together and then start sewing along the edge with a straight stitch until you get to the pin. When you get to the pin remove it, then insert the unsewn edge of the first flag into the folded bias and stitch into place. Your next flag will go10cm from the edge of the first flag.

9. Use a tape measure to measure 10cm and insert the next flag. TIP place a small sticker on your machine at the 10cm point so you don’t have to measure each time.

10. Carry on stitching in the rest of the flags at 10cm intervals and then stitch until you get to the end of the bias (remembering to turn in the cut end for a neat finish). You should then have all your flags sewn into your bias with 50cm at each end of tying.
11. Your bunting is finished! Proudly hang it up and admire all your hard work!
We have lots more of projects and tutorials planned, so do pay our blog a visit again! Thanks for stopping by!
Needle & Thread Workshops offer creative workshops for all abilities. whether you are a skilled crafter or have never used a sewing machine before we offer something for everyone! We have a bank of the latest Brother Sewing Machines for you to use on all our workshops supplied by Couling Sewing Machines in Lincoln, a beautiful studio in lovely surroundings with plenty of parking, view our current workshop schedule on our website! www.needleandthreadworkshops.com
No comments:
Post a Comment